
Design for Non-Designers: Simple Tools for Creating Stunning Visual Content
Design for Non-Designers: Simple Tools to Create Amazing Visual Content! Hi, it's me, and believe it or not, I'm not a designer. But that hasn't stopped me from creating cool, visual things! In this article, I'll share how simple tools helped me bring my creative ideas to life, even without knowing anything about design. Get ready for a journey of laughs, tips, and a few surprises along the way!
Design Tools for Non-Designers: My Best Friend
Why I love using simple design tools
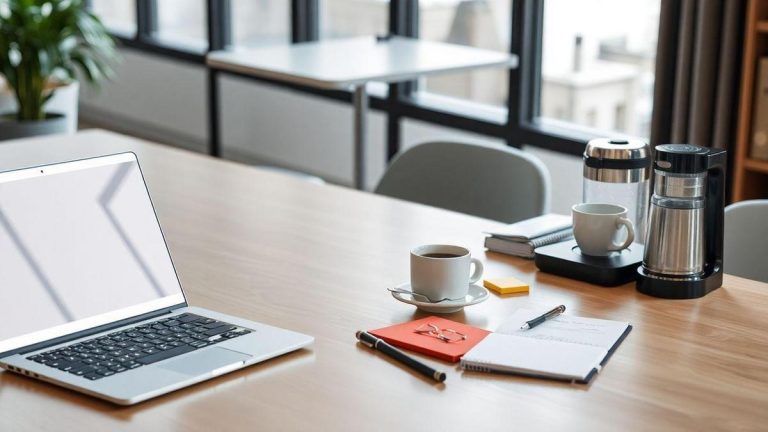
Ah, the design tools! For me, they're like that friend who always has a solution for everything. I'm not a designer, but that doesn't stop me from creating cool things. Simple design tools They are like a superpower that helped me transform crazy ideas into visual projects that even my mom praised!
These tools are so easy to use that even my cat could make something decent (if he had fingers, of course). What I love most is that they don't require an art degree or a design degree. Just drag, drop, and voilà! You have something that looks like it came straight out of a magazine.
How I created my first visual project without being a designer
There I was, a programming student, with a brilliant idea for a project. The problem? I didn't know how to draw a circle! But with the help of a simple design tool, I managed to create a banner that made me so proud that I even took a selfie with it.
Here's how I did it:
- I chose a tool: I chose Canva because, let's be honest, it's super user-friendly.
- I selected a model: They have thousands of ready-made templates. I chose one that looked cool and didn't look like it had been made by a five-year-old.
- I customized: I added my colors and text. It was so much fun that I almost lost track of time and ended up forgetting to eat. What's more important, a banner or a snack? (Spoiler: it's the banner).
- I saved and shared: After seeing my work, I was so excited that I shared it on social media. And guess what? I got a few likes!
Tips for choosing the right tool for you
Choosing the right design tool can be as tricky as choosing an ice cream flavor. So, here are some tips I've learned along the way:
| Tip | Description |
|---|---|
| Ease of use | Look for something that doesn't require a 500-page manual. |
| Available models | The more models, the better! You don't want to start from scratch. |
| Extra resources | Tools that offer free icons and images are a bonus! |
| Price | Some are free, others charge. Choose one that fits your budget. |
With these tips, you'll be more than ready to dive into the world of design, even if you don't have a special talent for it!
Creating Visual Content: My Learning Journey
What I learned about visual storytelling
Ah, the visual storytellingIt's not just a fancy term designers use to sound smarter, it's true magic! When I started diving into this world, I realized that telling stories with images is like baking a cake: you need the right ingredients and, of course, a little love (and a little sugar, if you ask me).
I learned that pictures speak louder than wordsSeriously, a good image can speak a thousand words. And if you're like me, someone who has the ability to type like a duck, that's a huge relief. So, whenever you're thinking about creating content, remember: choose images that... communicate your message and connect with your audience.
My experiences with graphic templates
Graphic templatesOh, how I love these saviors of the nation! When I started creating visual content, I thought I needed to be a Picasso. But after a few disastrous attempts (read: design monsters that hurt my eyes), I discovered templates. They're like the frozen food of design: ready to use and, most of the time, delicious!
Here are some lessons I learned about templates:
- Ease of Use: With a template, you don't need to be a design genius. It's like putting together a puzzle—you just need to fit the pieces together.
- Time Saving: If I had to create everything from scratch, I'd probably still be working on my first project. With templates, I can finish faster and get to Netflix. Priorities, right?
- Variety: There are templates for everything! From social media posts to presentations. It's like a candy store, but without the risk of gaining weight.
How templates can save your design day
Picture this: you're on a tight deadline and your brain has decided to go into vacation mode. What do you do? That's where templates come in like superheroes. They can transform a stressful design day into a smooth experience. Here's a quick table that shows how templates can be your best friend:
| Situation | Template Solution |
|---|---|
| Tight deadline | Choose a template and customize quickly! |
| Lack of inspiration | Browse templates and find ideas! |
| Technical difficulty | Ready-to-use templates = less stress! |
So, whether you're just starting out in design or just trying to avoid a nervous breakdown, remember: templates are your friendsThey may not be as exciting as a new video game, but hey, they'll save you a lot of trouble!
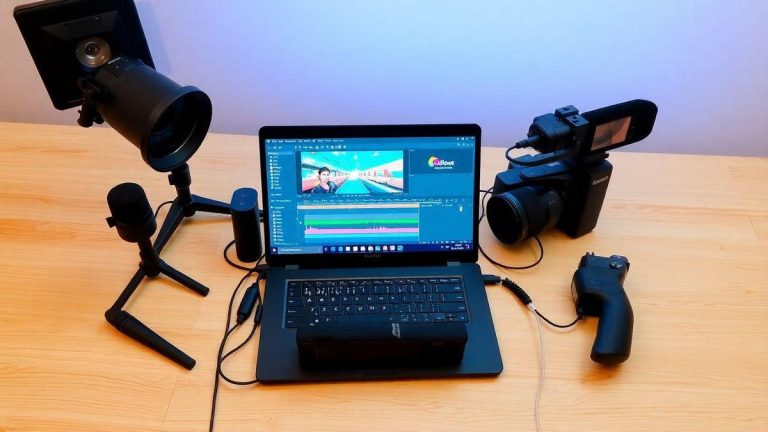
Easy Image Editing: Turning Photos into Art
My favorite tools for editing images
When it comes to image editing, I'm like a kid in a candy store! There are so many tools available, it's hard to choose. Here are my favorites that help me transform ordinary photos into true works of art:
| Tool | Description |
|---|---|
| Canva | Perfect for non-designers. It has ready-made templates and is super easy to use! |
| Pixlr | An online editor that's like Photoshop, but without the complicated part. |
| Snapseed | An app that works magic with photos on your phone. It's like having an editing studio in your pocket! |
| GIMP | For the more daring, it's free and has powerful features, but it can be a bit overwhelming. |
These tools are great for creating amazing visual content, even if you don't have a design background. It's like having a superpower!
How I Made My Photos Cooler in Minutes
I once took a photo of a cat that looked more like a potato than a feline. I decided to use Canva and, in minutes, transformed that cat into an Instagram star. I added a colorful background, some funny text, and voilà! The potato became a sensation!
Here are some quick tips I learned along the way:
- Use Filters: They can change everything! A good filter can make your photo look like it was taken by a professional.
- Cut with Style: Sometimes less is more. Crop out the part of the photo that doesn't need to be there.
- Add Text: A touch of humor always helps. A funny quote can make your image stand out.
The importance of good editing for visual content
Image editing is like the icing on the cake. Without it, your content can look dull. Good editing can capture attention of people and make them stop and look. It's like you're dressing your photo in your best outfit!
For example, I always notice that posts with well-edited images get more likes and comments. This shows that people really notice the difference. And let's face it, who doesn't want a little more love on social media?
Accessible Graphic Design: Breaking Down Barriers
How I discovered that anyone can be a designer
One day, while trying to make a poster for a college event, I realized that the graphic design wasn't just for the chosen ones. I, who barely knew how to use a text editor, managed to create something that didn't look like a child's scribble. The truth is, anyone can be a designer! It was like a snap in my head. If I can do it, you can too!
I started exploring tutorials on YouTube and soon found myself immersed in a new passion. I remember once designing a logo for a friend, and he said, "Wow, you're an artist!" I couldn't help but laugh, because the only artistic thing I knew how to do was draw a sun with sunglasses.
Visual creation tools that don't break the bank
Now, let's talk tools. You don't need to spend a fortune to be a designer. Here are some options I use that won't break the bank:
| Tool | Price | What it does |
|---|---|---|
| Canva | Free | Creation of graphics and presentations. |
| GIMP | Free | Powerful image editor. |
| Figma | Free (with paid options) | Interface and prototype design. |
| Inkscape | Free | Vector design, like a free Illustrator. |
These tools are super intuitive and have tutorials to help you stay on track. It's like having a GPS that won't send you off into the middle of nowhere!
What do I do to stay within my budget?
Now, if you're like me and try not to spend all your money on coffee and design tools, here are some tips:
- Take advantage of the free versions: Many tools have free options that do the job very well.
- Use free image banks: Sites like Unsplash and Pexels have amazing photos that you can use without spending a dime.
- Join online communities: There are many groups where you can exchange tips and even make partnerships.
In the end, what matters is creativity. With a little effort and the right tools, you can create amazing visual content without needing to max out your credit card.
Online Design: Creating from Anywhere
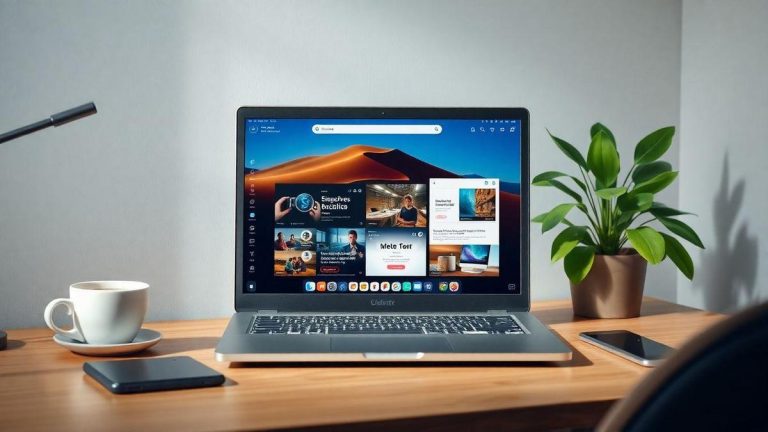
How I design on my phone
Ah, my phone! It's like my faithful companion in the design world. Whenever I'm in line at the bank or waiting for the bus, I open a design app and voilà! I can create amazing things with just a few taps. I do all this with tools that are so easy to use that even my grandmother could make a Facebook banner (and she still thinks Wi-Fi is a coffee brand).
I use apps like Canva and Adobe Spark. They have ready-made templates that make you look like a professional designer, even if you only took an online design course (which, let's be honest, might have just been a YouTube video).
The advantages of using online design tools
Using online design tools is like having a box of chocolates: you never know which treat you'll get! Here are some advantages I've discovered:
| Advantages | Description |
|---|---|
| Accessibility | I can work from anywhere, even from my couch at home (with a snack, of course). |
| Ease of use | The interfaces are so simple that even a five-year-old could create something cool. |
| Collaboration | I can invite friends to work together, and if they don't help, I can always blame the Wi-Fi! |
| Ready-made templates | They have so many options it's like choosing between pizza and burgers – you're never short of choices! |
These tools not only help me create beautiful designs, but they also make me feel like an artist. And who doesn't want to feel a little more creative, right?
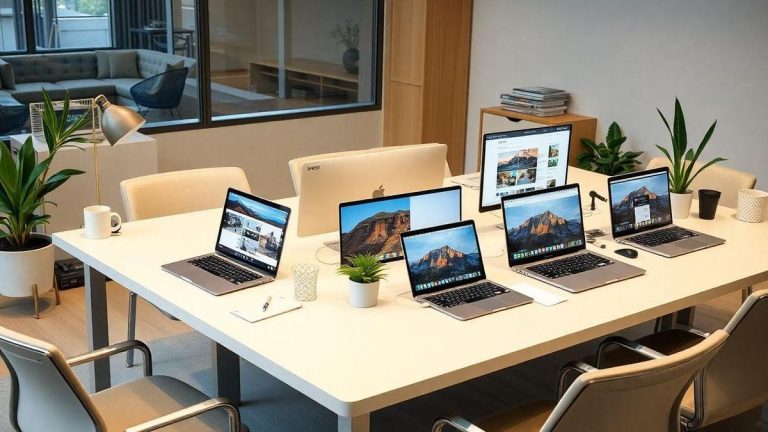
What I learned about teamwork in design
Working as a team in design is like baking a cake: everyone brings a special ingredient. I've learned that communication is key. If you don't speak your mind, you might end up with carrot cake when you wanted chocolate.
For example, a friend and I were once creating an Instagram post. He wanted a blue background, I wanted green. After some discussion (and some funny memes), we decided to mix the colors. The result? A design that turned out so beautifully that even the Instagram algorithm smiled at us!
Ultimately, working as a team taught me that diversity of ideas That's what really makes the magic happen. Everyone brings something different, and together, we're like the Avengers of design!
Intuitive Design: Simplicity is Key
How I Learned to Use Intuitive Design Without Stress
Ah, intuitive design! When I first started working with digital media, I thought I could just throw some colors and images together and be done with it! Spoiler: that's not quite right! What I learned is that keep things simple is the key. I used to complicate things, like trying to assemble an IKEA piece of furniture without the instructions. But after some trial and error, I realized that intuitive design is like making a cake recipe: follow the steps and don't add unnecessary ingredients!
I once made a website for a friend and used so many different fonts that it looked more like a fashion show than a website! The lesson? Less is more! Today, I focus on creating layouts that are easy to navigate and don't leave people wondering if they need a map to find what they're looking for.
Design examples for non-designers that work
If you're like me, a "non-designer" trying to make something that doesn't look like a school project, here are some tips that work:
- Harmonious Colors: Use a color palette that coordinates. It doesn't have to be Picasso, just don't mix hot pink with lime green!
- Legible Fonts: Choose one or two fonts. The last thing you want is for people to have to use a magnifying glass to read your content.
- Blank: Don't be afraid of white space! It's your friend. It's like giving your design a breather.
- Quality Images: Use photos that don't look like they were taken on a cell phone from 2005. There are tons of sites with great free images!
| Tip | What to do | What to avoid |
|---|---|---|
| Harmonious Colors | Choose 2-3 colors | Mix many colors |
| Legible Fonts | Use 1-2 simple fonts | Use complicated fonts |
| Blank | Leave empty spaces | Fill everything with information |
| Quality Images | Use clear images | Use blurred images |
My golden rule for simple and effective design
My golden rule? If it's not easy to understand, it's not worth it! It's like telling a joke: if you have to explain it, it's already lost its appeal. Whenever I'm creating something, I ask myself, "Does this make sense?" If the answer is no, it's time to reevaluate.
Remember, design doesn't have to be complicated. Design for Non-Designers: Simple Tools for Creating Stunning Visual Content are out there, and you can use these tools to make something that looks professional without needing a graphic design degree.